RSS
Showing posts with label pansies. Show all posts

Thursday, April 15, 2010

What's Coming Up at Tiny Green Cottage: April Flowers and Spring Vegetables

Everything is in bloom!


Here are some new images of what has been going on in the garden this week!


 The White Dicentra (Bleeding Heart) in the front yard is still going strong!
 

Likewise, we have more Pansies than you can shake a stick at!


Which has inspired us to harvest their beautiful petals and dry them for bath and tea products!


The sweet scents of Lilacs are already perfuming the air--a month earlier than usual!


Lavender flowers are still tight in their buds, but soon will unfurl all at once!


The Tulips are the this month's crowning glory!


I never tire of seeing them!

Meanwhile, our Spring Vegetables are going strong:


"French Breakfast" Radish are delicious and ready for the taking!


While Red Chard and Spinach show off their deep colours.

Wednesday, March 10, 2010

Flagstone Path Project and Front Beds

It has been a busy few weekends!


This past Saturday and Sunday, we installed a  fifty foot flagstone path which extends from our front door to the street. We dug out and leveled the path mostly by hand, only using the rototiller for hard, rocky areas. Once the dirt was removed and relocated to random parts of the yard, we ordered gravel, tamped it into place and placed our flagstone.

 Our gravel order awaits!


After we placed our gravel, we laid out our flagstone and began to arrange the stones. It was similar to a very heavy and frustrating game of Tetris!


We selected a native basalt to use in the path as we felt it would blend in most convincingly with the area and would help 'age' the garden a bit.


 Once the foundation for the path was laid and covered in with gravel, we then proceeded to dig 18 inches into our front yard to create steps. This endeavor required an additional 600 pounds of rock.

These stairs are now level with the street, replacing the overgrown bricks and cinder blocks we recovered from the same area.

 After a hard rain, we pulled out tubs containing our dirt reserves and begun to fill over the gravel. We left a generous amount of space between each stone because we wanted to plant Irish Moss throughout with the hopes it will creep and weave, looking very charming and sweet. I hope to replicate the look of some of the churchyards I visited in Scotland and Ireland which had very ancient, worn stones in their garden pathways.


I also added new soil to the front herb beds and placed some stones recovered from all of these projects around the garden beds to form a nice, visible border.


Here is a nice shot of how the path looks from the street. We received many compliments from friends and neighbours throughout the process, which was just the reassurance we needed!


 Lastly, here is a nice view of the front beds with newly embedded flagstone and four extra pots! We are growing an heirloom garlic in these pots in addition to more pansies!

Sunday, February 7, 2010

Raised Bed Project for the Front Yard is Now Complete!

Hello, Everyone!

Readers may remember we began the planning stages for a grouping of raised beds for our front yard back in December. The purpose of these beds would be to eliminate mowing area, create curb appeal, and to also have additional 'real estate' for a lot of our early Spring crops such as spinach, lettuce, kale and peas!

We started this project in late January, and due to cooperative winter weather,  I can now proudly declare this project as done!

Here are a handful of images which demonstrate everything we accomplished.

 
 This was the original view of the house from the street. Fairly anticlimactic, yes?

 This is a side view of the yard. Not a lot to see, just grass and the neighbor's ugly red fence!

You can see how my front flower bed extended into the front lawn.

 
 We took some measurements and bought the necessary amounts of wood from our local lumber yard on 52nd Ave, hauling everything home in one trip with my Sedan!


Once things got going, it was surprising how quickly the beds came together. It only took one day to assemble all of the beds and put them in place.

 
We braced the center bed to help it hold shape whilst moving it around.


Then the real fun began!


This is an aerial view of the beds from my studio!


After a few final measurements, we let the digging commence!


One day, I came home from work to discover a huge mound of dirt in my driveway. How much? Five yards! Obviously, not all of it would be going into the front beds. We had some miscellaneous projects also.


Let the filling begin!


I bought all of these beautiful Pansies and Violets before the dirt delivery, and was eager to put them in place!


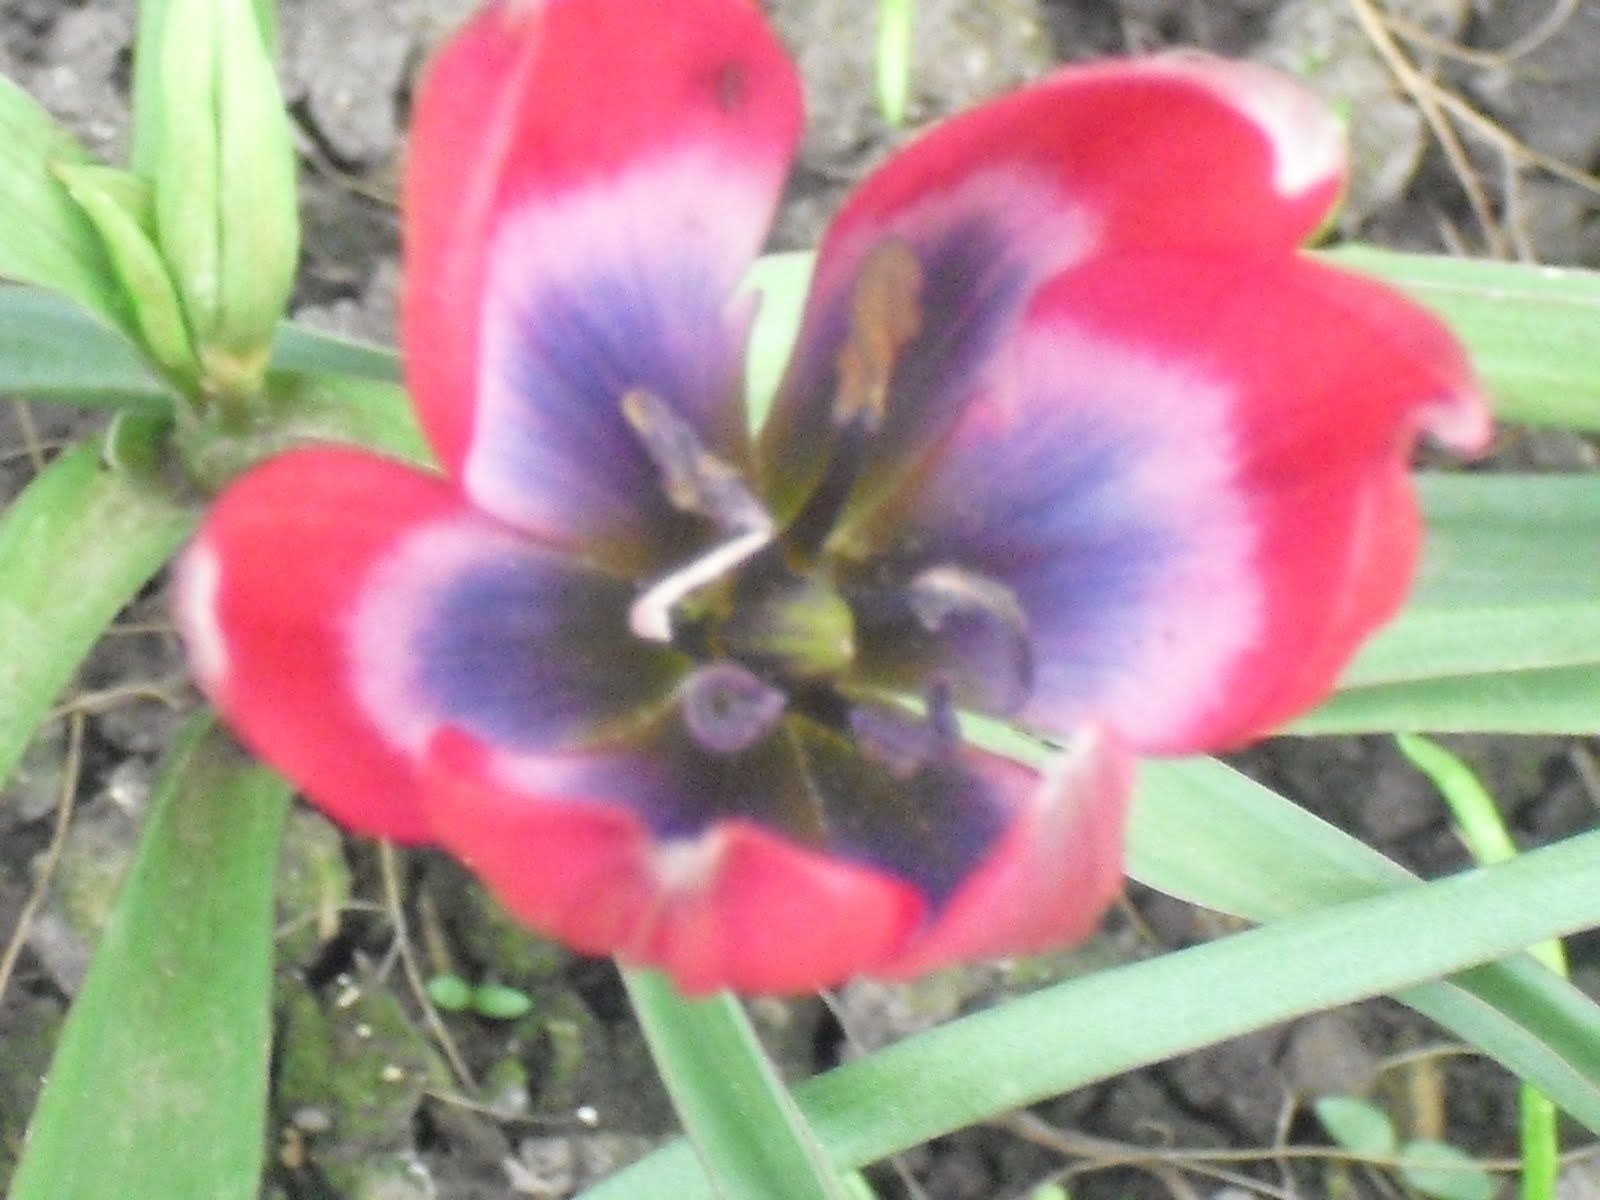
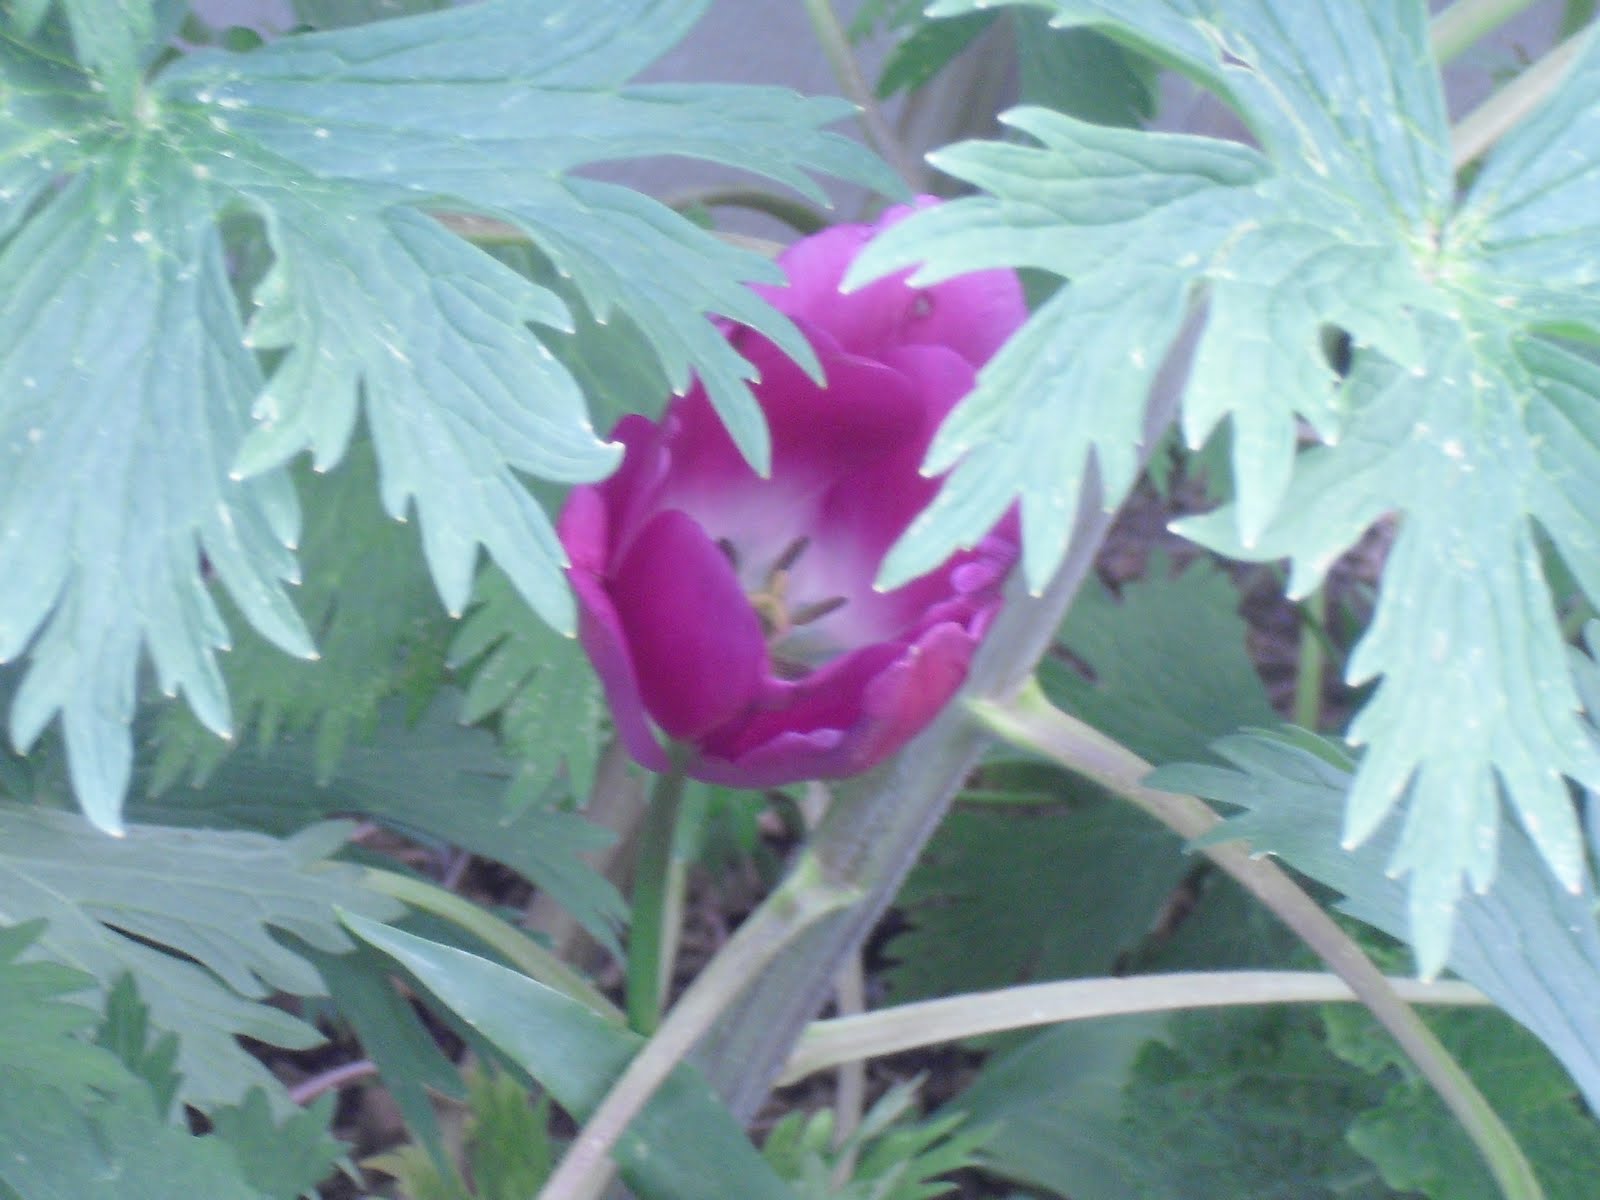
In the main bed, I planted Pansies, Violets, Tulips (in center), Kale, Two types of Lettuce Mix (French and Italian) and Spinach. I divided the bed into quarters and planted Chives in between each to visually divide one crop from the next. I think it will look fantastic once it fills in!


In two of the smaller beds, I planted Pansies, Chives and Cabbages!


In the two others, I planted Garlic and Swiss Chard which were transplants from our backyard garden. 


I really love purple flowers!


Here is a final shot of how the beds looked filled, along with the pea obelisk I built. The next step is to build additional beds along the fence to help disguise the uglies! Cannot wait!